
Convert Celtx to Final Draft and Vice Versa
Since Celtx Studio has changed from an offline-only application to being a complete online based system, converting files to Final Draft from inside Celtx has become less straight forward. The reason being that Celtx no longer exports *.txt files. The only way you can get your script out of Celtx is as a pdf.
But there is a workaround, which I will share with you here.
But first…
Let me quickly explain the process of getting files FROM Final Draft INTO Celtx, which is very simple.
Final Draft to Celtx
Export your script as a *.txt file from Final Draft via the File – Export… dialog.

Open the *.txt file in a text editor (e.g. TextEdit on the MAC, Notepad on the PC).
Select the entire text (Cmd-A or Ctrl-A) and copy-paste it into the Celtx online script interface.

Done. Easy Peasy.
Now, let’s look at the other way round.
Celtx to Final Draft
This way is a bit more tricky, but still possible relatively easy. And it is absolutely FREE and without any additional software that you not already own.
Let me show you…
You need:
-
Copy of Final Draft (of course)
-
A text editor that has “Find and Replace” functionality and can handle *.txt and *.rtf files.
-
Online access to Celtx (of course)
Let’s get started.
1. Select Celtx Script Text
Open your script in Celtx. Select the entire text by pressing Cmd-A (MAC) or Ctrl-A (PC). Copy the text to the clipboard by pressing Cmd-C or Ctrl-C.
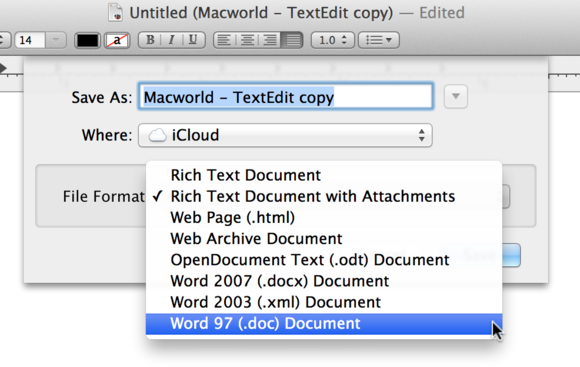
2. Paste Text Into Text Editor As RTF
Fire up your text editor. I’m using TextEdit on the MAC in this case. Paste the entire text in. Make sure you’re using the *.rtf format.
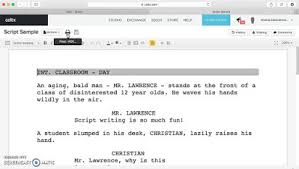
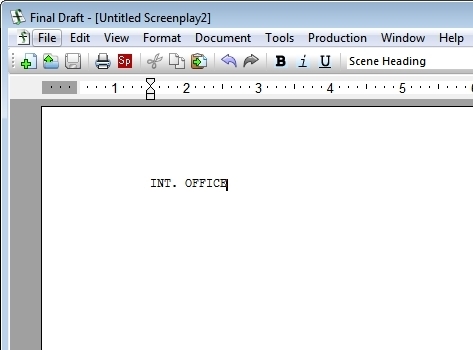
If you use *.txt format here your script will look like this:
3. Automatically Add Extra Lines At Scene Breaks
Alright. Now, what we need to do is the following. Since every element has it’s extra line without any double line spacing in between scenes Final Draft would not recognize single scenes.
What we need to do is get extra lines in between scenes to help Final Draft figure out where one scene ends and the other begins.
It would be tedious work to do that manually so we’ll use the “Find and Replace” function.
Hit Cmd-F to open the “Find” bar up top and activate the “Replace” checkbox to reveal the “Replace” box underneath.

Now, enter in the “Find”-box: “EXT.”. What that will do is look for all our external scenes.
In the “Replace” box also enter “EXT.”. But we’re not done yet. We also need to tell TextEdit that we want a line return before every external scene.
The way we’re going to do that is we paste a “line return”-character in the “Replace” box IN FRONT of the “EXT.”.
TextEdit doesn’t allow us to see the “invisible” text return characters but they’re there nonetheless.
Like so:
Copy one line return character by click-dragging with your mouse from the beginning of the scene heading line to the end of the line above. Alternatively you can move your cursor to the front of the scene heading line and then press the left arrow key while holding shift.
What that does is it marks only the line return character without any text.
Next, copy that marked line return character (Cmd-C), and paste it in the “Replace” box above IN FRONT OF the “Ext.”.
CAUTION: Now, you might end up with what looks like an empty “Replace” box all of a sudden. That’ sonly because the line return character takes up so much space in that box. If you move your cursor to the right (in the “Replace” box) you should see your “EXT.”.
Now, hit the “All” button. This adds extra lines before all scene headings that start with “EXT.”.
Then do the exact same process with all your “INT.” Scenes. Just type “INT.” In the “Find” and the “Replace” box instead of “EXT.” And hit the “All” button again.
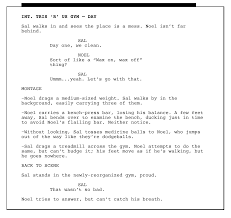
Well done. Now we have exactly what we want: An extra line between our scene breaks.
4. Convert from RTF to TXT
Convert your file to a *.txt file, because that’s what Final Draft needs for a clean script import.
In TextEdit go to Format – Make Plain Text.

Save this *.txt file to a folder of your choice.
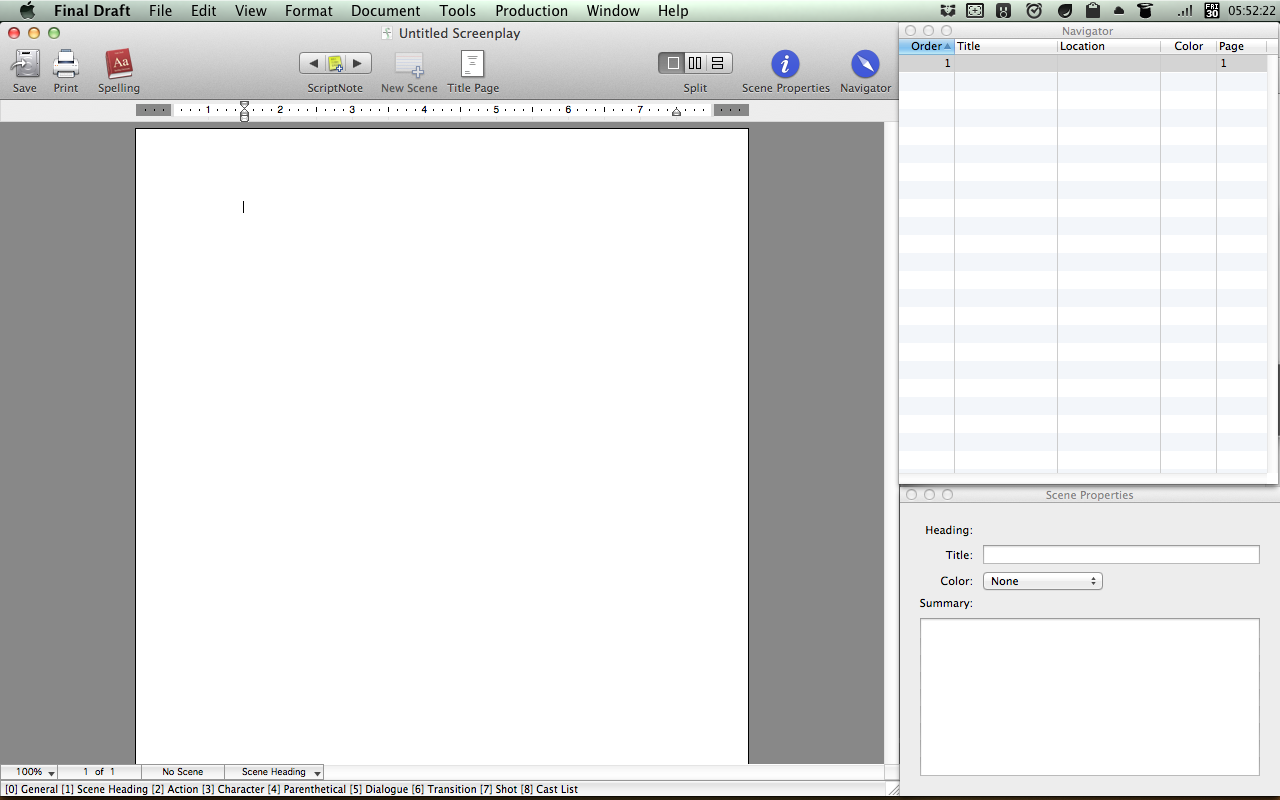
5. Import In Final Draft
Open up Final Draft and open your *.txt script via File – Open… Final Draft asks you if you want to open your script as text or as script.

Choose “script”.
Final Draft opens your script file and is should be correctly formatted.
Congratulations!
6. Limitations
Although this process worked fine for me, there are a couple of limitations you should be aware of. Final Draft tends to not recognize some scene elements correctly.
Here they are…
Character Names
Your character names shouldn’t be longer than two words. If they are, Final Draft will format the character element as action. And the following line as well (because there can’t be any dialogue without character name).

Abbreviations don’t work. Also, Final Drat will take this as an action line instead of a character name.
INT./EXT. Scenes
Final Draft won’t recognize “EXT./INT.” Scene headings. It will look like this:
Other than these limitations I had no problem with this workflow going from Celtx to Final Draft.
How about you? Are you using Celtx? Do you also have to handle Final Draft files? Have you found another conversion method?
I’m curious to hear your experiences! Just drop me a line below…


This article gave me the tips I was looking for to import from Celtx Studio (not desktop) to Final Draft. Thanks! Celtx Studio is pretty great, but FD is still needed for certain things, like adding dialogue line numbers for voice recording.