
Whether you are a writer and want to go the self-publishing route, or you just want to tie a bunch of notes together for an easy read on the go, making an eBook is not complicated anymore. You don’t have to mess around with html code (what an eBook basically is). But of course you still can if you want to. If you want to do so I wouldn’t compile it in Scrivener, I would use Sigil for that.
But this article is about the most basic steps to create an eBook with Scrivener in just a few quick and easy steps.
Should you not be familiar with Scrivener: it’s a very powerful non-linear writing software, allowing you (besides a ton of other features) to create and order a multitude of files into any order you like. So, while you’re always working with one file in Microsoft Word and other writing software suites, Scrivener allows you to work with a virtually endless number of files and then compile them in a variety of formats.
EBooks being one of them.
The Workflow
Here are the steps you need to take to compile a Scrivener project as an eBook:
Basically all you need to do is choose “Format As: eBook” in the compile dialog and choose “ePub” or “mobi” from the Compile-As-dropdown.
But there are a couple of settings that you should be aware of.
NOTE:
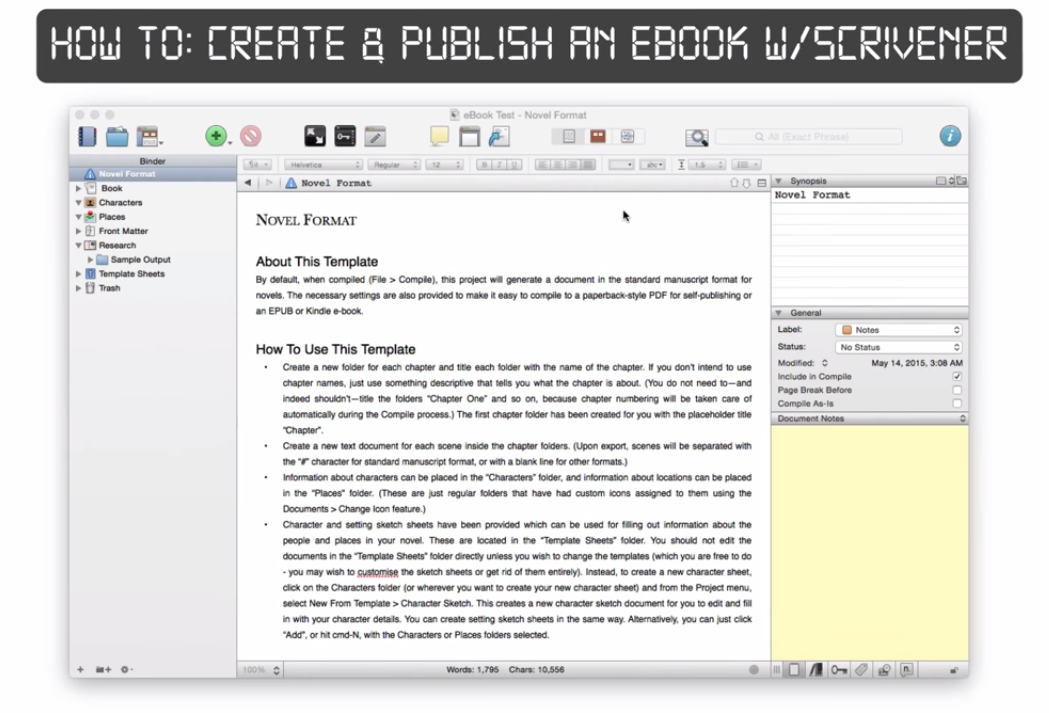
If you know that your project will become an eBook in the end it is best to use either the “Novel” or the “General Non-Fiction” project Template. Both come with a preset version of the compile dialog settings as well as a description of how to use the templates and the naming of the file hierarchy.
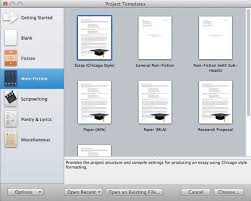
But you don’t have to use those, you can also adjust all the settings in a blank project. One of the reasons I love working with Scrivener.
However, let’s move on…
In the compile dialog, the moment you choose “eBook” from the “Format As” dropdown at the top, and “ePub” or “mobi” from the “Compile As:” dropdown below you get a couple of extra options.
Cover
If you want to use a cover image for your eBook, import the picture you want to use into the “Research” folder (or any other folder that is not the “Draft” folder itself) before compiling. Then select the picture from the drop-down menu.

Formatting
In the formatting tab there are a bunch of settings you may need to adjust.
Override text and notes formatting
Click this if you want all your text in another font or size. But be careful: you will lose all the font settings for every document, including tabs and indents.

If you want to override just SOME font settings but not all of them, Scrivener gives you a few extra options:

Here you can choose to override (or preserve for that matter) only specific font settings, depending on which options you choose.
Title
Choose which of your documents will be used for titling your chapters or sections.

It is advisable here that you use a clear hierarchy of documents throughout your entire eBook. Otherwise hierarchy of titles and subtitles can become really complicated to set up.

Tick which level of documents you want to create your titles.
The “Section Layout” button allows you to specify special prefixes and suffixes for your titles, including Placeholder Tags.

Example:
Entering “Chapter <$t>” (without the quotes) in the chapter prefix box will compile “Chapter One” the first time this tag is encountered, “Chapter Two” the second time, and so on…
If you want your title numbers in numeric values instead of words (or roman letters) you can use different tags.
You can find the complete tag list in Scrivener’s Help Menu – Placeholder Tag List…


The box below gives you a preview of your current title and text settings. If you click the word “title” inside this box, you can change its font settings. The same works for the title prefix (or suffix if you have one), which is also shown in the preview box.
Title Adjustments
This allows you to override prefix settings for front matter documents. You can also choose which titles to exclude from the prefix settings that are not part of your front matter.

Compile For: …
Choose “ePub” or “mobi”, depending on which format you want to use. “EPub” is the open eBook standard, whereas “mobi” is for kindle.

AND NOW…
…Hit “compile”.
You will get an eBook with your own cover, chapter numbering and table of contents. If something is not to your taste play with the settings described above until it is to your liking.
There are more things to consider on some eBooks (e.g. Pictures, chapter symbols, and the like) but for most eBooks you need to compile this should absolutely do.
It’s quick, easy, and the result is nice to look at.
Does this work for you? Do you compile your eBooks yourself? What kinds of eBooks do you write?
I’m happy about your comments below…


