In this article I’m going to show you how you can use Scrivener’s Meta Data fields to create a flexible outline spreadsheet so you never lose track of any story element when developing or writing.
A while ago I posted a blog article about how to use Scrivener for outlining with index cards on the cork board.
However, I have found another way to do effective outlining in Scrivener using Meta-Data fields and it has helped me a lot to keep my focus on what is happening in each scene during my writing.
Let me show you.
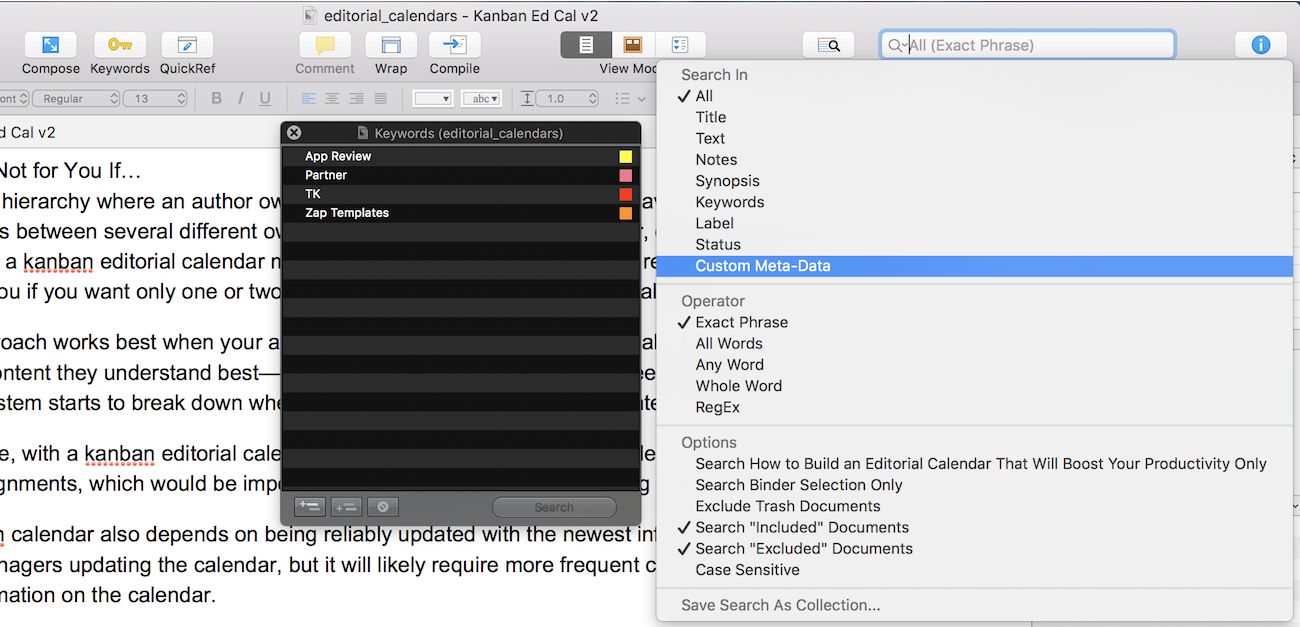
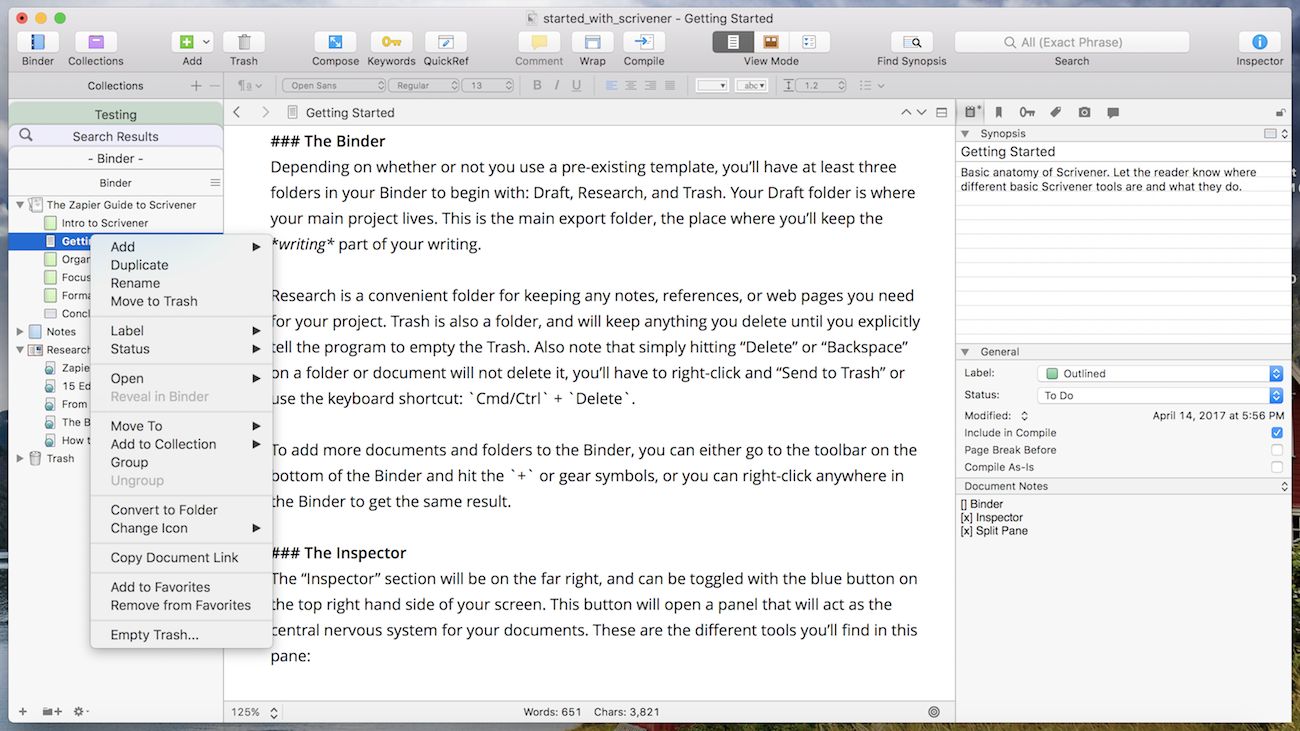
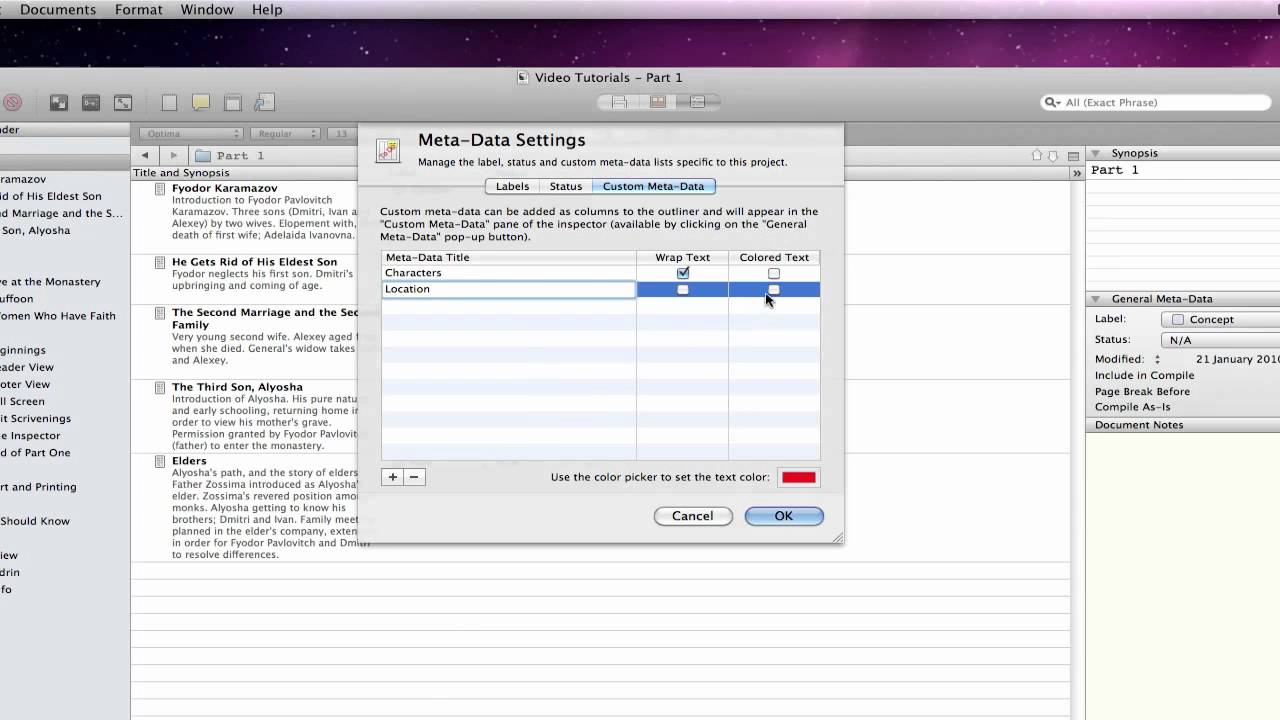
If you haven’t used scriveners Meta-Data fields yet I’ll show you where they are. Make sure you see your inspector and on the panel control strip click custom Meta-Data. Now you can define Meta-Data fields.
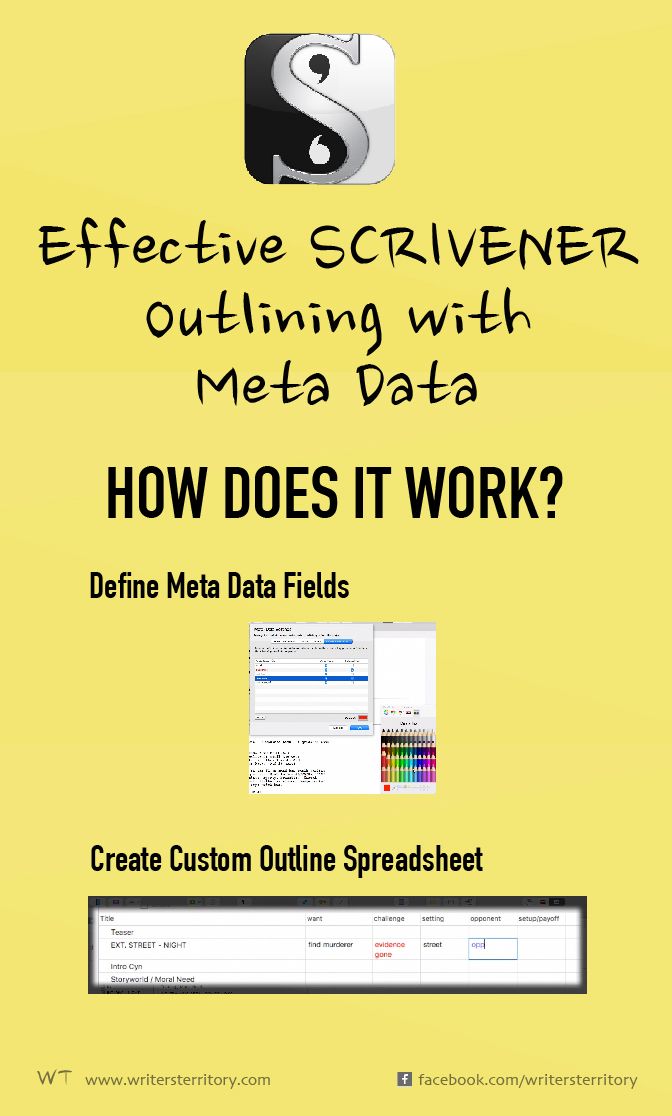
Click the “+” to create a new Meta-Data field and enter a name for example “Want”. We’re going to use this field to define our heroes want. I’m going to create a few others just as an example so you can see how this works. I’m going to use here “Challenge, “Setting”, “Opponent”, and “Setup/Payoff”.
Just set it up so that you have all the fields that you want to use for YOUR outlining process whatever you want to call them.
Next to the name field you can decide if you want the text and this field, which will become a column later, to wrap or just to be cut off at the end when you’re viewing them. If you choose “wrap”, the text will flow into the next line and the line heights will increase the more text you enter.
Additionally you can define colors if you want specific Meta-Data fields to be highlighted.
Let’s try this, let’s say I want “Challenge” red and “Opponents” Blue.

Okay. Now let’s see how this looks. Go to your synopsis view and here on the right side choose which Meta-Data fields you’d like to have displayed. Just check the ones you need. I’m choosing just the ones we created.
As you can see this is kind of a spreadsheet that you can now use for your outlining or for your brainstorming process. Just go through each scene line by line – assuming you have one scrivener document per scene – and put the necessary information in each field.

I find this is a very convenient way to brainstorm and also to track what is happening in each scene so you don’t get lost during your writing process.
The way you can set it up for your writing is, for example, you can have the editor split in two and then can view your scenes on the left side and your Meta-Data spreadsheet on the right.
That way if you get lost or stuck in your writing you can always refer back to the right side of your screen and check what you need to accomplish in each scene. Or maybe you want to change the Meta-Data content if you just got a better idea.
You can also sort and reorder these columns. To sort, just click on the title. If you click several times you can choose between sort upwards, downwards, or return to your chronological order.
To reorder just click and drag the title here at the top. You might want to do this if your metadata spreadsheets is too wide to fit in the right editor as a whole. So you can just drag the combination of columns you’d like to see to the left.
You an also activate this button down here.
If it’s pushed, Scrivener automatically opens the scenes you click on in the other editor window. This can actually save you a lot of the because you don’t have to search them from the binder.
Are you using Meta-Data fields in Scrivener? Do you have other outlining methods that work well for you? Drop me a comment below and let me and others know about it…
If you like this article, please leave me a comment below and subscribe to the Writer’s Territory Newsletter. Let me help you decide which his the best writing software for you before you spend your money and let me show you how the tools you already own help your writing the most.
Don’t miss regular news updates, reviews, how-to’s, and tips and tricks about the best software for writers like you.
If you have any specific software problems or questions, just let me know and I’m happy to help you and others solve them so you can get back to writing as quickly as possible.
Happy writing!


