Today I’m going to give you an introduction to Scrivener.
Scrivener is in many ways different from any other writing program, but many people either don’t know that it exists or they don’t know how powerful it is and how to use it to their best advantage.
This is what I’m going to show you:
-
What Scrivener is and how it is different from other writing software
-
The basics of how to get stuff in
-
The basics of how to get stuff out in different formats and exactly the way you want
If you want to try scrivener there is a free trial available online so if you want to follow along with me go to www.literatureandlatte.com.
If you don’t own Scrivener just yet and you’re interested in a discount, get a coupon here.
I’m using version 2.7 on the Mac.
Okay let’s jump right into it.
When you open up Scrivener this is the window that you see, and what you can do here is choose what kind of project template you want to work from. You can also start with a blank template if you want to start from scratch.

I’m going to pick the screenplay template since this is the one my most commonly use. Just click on “Screenplay”, hit “Choose”, enter a name for your project, and hit “Create”.
This brings you to Scrivener’s main interface.
The Main Interface
One of the most important things to know about Scrivener is its ability to hold several documents at once. It’s not like you may know it from Microsoft Word, where one document equals one file. In theory one Scrivener document can hold hundreds or even thousands of documents.
Here on the left you have the binder window. This is where you store and sort all of your documents.
Let’s see how this works.
This is a document Scrivener has already created for us. But if I want I can create as many as I like. Just hit this plus button at the top and create some more.
Scrivener stores them all here in the binder. Now let’s put some content into our documents.
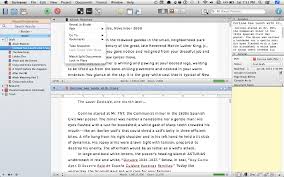
This window here is the editor. This is where you actually write your text.
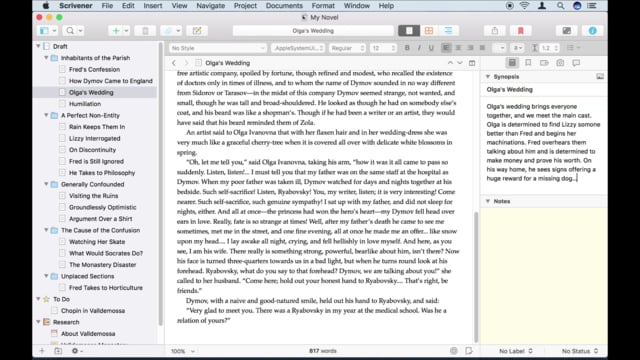
The editor always shows your active document, the one you have selected in the binder.
Let me show you two cool things that you can do in the editor. You can split it in half if you want to work on two documents at once, for example if you want to see you notes right next to your draft. This button here in the top right corner lets you split it either vertically or horizontally depending on if you click holding the alt key or not.
The second cool thing is viewing your documents as so-called scrivenings. If you select more than one document in the binder Scrivener shows them in sequence. So you can edit them as if they were one long document.
Importing stuff
What if you want to import documents you already created outside of scrivener? No problem, you can either just drag them in from the finder, or you go to “File – Import – Files”.
There is a certain limitation though.
Your draft document, which is called “Screenplay” here, as well as all sub documents can only contain text and sometimes pictures. All the other folders here at the bottom can hold pretty much any document you like. The documents Scrivener can display without having to open it in an external viewer are: texts, pictures, audio files, pdf files, and video files.
There is a reason the Screenplay folder can only hold text documents, but I’ll get to that later. It has to do with the exporting process.
But first let me show you what kind of additional information you can store with every document inside Scrivener.
As you have already seen, every document holds its own content. Of course. That’s the text to enter in the editor when your document is active. But there is much much more information your documents can hold.
The Inspector Panel
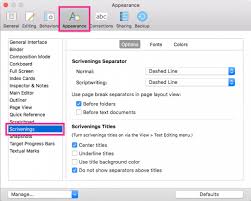
This is among other things what the inspector panel is for. If you don’t see the inspector panel click the I button in the top right corner or move your mouse to the edge of the screen if you are in full-screen mode.

Besides the content itself, your document can also hold:
-
A title
-
A synopsis
-
Document notes
-
As well as additional metadata information like label and status
This can be very useful, e.g. If you like to work with index cards.
The Corkboard
If you change your view mode to corkboard, Scrivener shows you every document as an index card and displays the documents title as well as its synopsis.

The corkboard also lets you change the order of your documents by click-dragging them to another place.
You can also do that in the binder by the way.
So, what Scrivener does, it doesn’t force you to work with one long document. Instead, you can split your content into smaller chunks. That makes it easier for you to keep a good overview and to focus on smaller parts of your project only.
Split and Combine
You can split and recombine your documents anytime you wish.
To split a document in two, make sure your cursor is in the line that you want to be the first line after the break. Then go to “Documents – Split – at Selection”. Or hit Cmd-K.
To recombine documents select them in the binder and choose “Documents – Merge”. Or hit Shift-Cmd-M.
Exporting
So, let’s assume your content is ready and you want to export it. How are you going to make a screenplay out of that? Saving a Scrivener document like in Microsoft Word is not enough. If you look at the your Scrivener project in the Finder, you will see it it is only one file.
If you right click on that file and choose “Show Package Contents”, you see that your Scrivener project is actually a collection of several folders, one of which holds all the documents you created. So, how are you going to get them out?

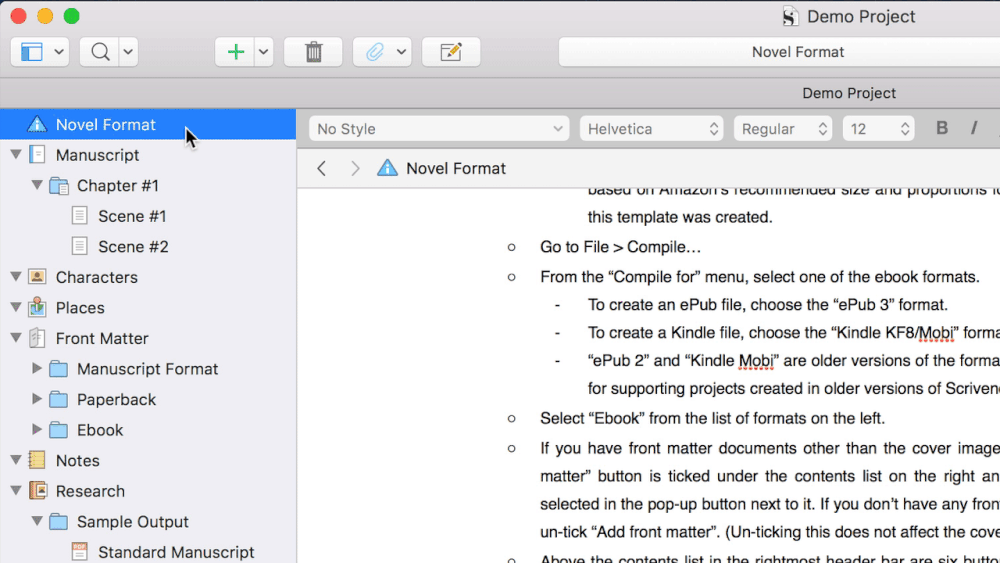
This is where one of Scrivener’s most powerful features comes into play. It’s called compile.
You open the compile dialogue by clicking the compile button in the toolbar.

This is where you decide which content in your Screenplay folder will be exported and how it will look.
Remember I told you the Screenplay folder can only hold text and pictures, whereas all other folders can hold all kinds of files?
This compiling process is the reason for that. In the end what you want to get out of Scrivener is either a screenplay, a book, a pdf file, a Word file or any other kind of text.
So, all the content you want to have compiled later on, needs to go through the compiler in order to create a readable text file.
You can’t compile information that is stored outside of your Screenplay folder. So it’s best practice to do the writing work in your Screenplay folder and use the Research folder – or any other folder – for your research materials and other stuff you want to keep.
The compile dialogue is very powerful and I don’t want to go into too much detail here. But I will give you a quick overview.
I’m going to give you two examples of how you can use the compile dialogue in order to get two very different kinds of documents out of Scrivener without changing the content of your project.

I have a screenplay project here containing four scenes, and as you can see, there is one document for every scene. Every scene also has the scene heading as title and a short synopsis.
The first thing I’m going to compile is the screenplay itself. Go to the compile dialogue, choose “Format as Script or Screenplay”, then choose your file format, e.g. “Pdf” and hit compile.


As you can see what Scrivener gives you is the completed screenplay.

But that’s not always what you want. Let’s assume your producer doesn’t want the completed script, all he wants is an outline.
No problem. Go to the compile dialog, choose “Enumerated Outline”, and there you go.

Let’s have a look at that.
That’s not exactly what I wanted. I have the numbers and the title of each scene, but I also want the synopsis.

So, let’s go back to Scrivener, but before I compile again, I need to change my “Enumerated Outline” setting.
I need to tell Scrivener that I want the synopsis compiled for all the documents without subdocuments in hierarchy one. Do that by checking this box here.

Let’s try again.
Now, Scrivener compiles the title as well as the synopsis for every scene.
And This is how it looks.

As you just saw you can adjust the compile settings anyway you wish, the templates are just there to help you with the most common tasks.
Alright, I hope you got a basic understanding of what Scrivener is, what it can do, and how it can help your writing.
And this is just a tip of the iceberg. Scrivener has many, many more features that help you write more effectively, collect and structure your research material, and export your work in a variety of formats, including Final draft, e-books, Fountain and more.
If you like this introduction to Scrivener, please subscribe to the FREE Writer’s Territory newsletter. Let me help you decide which is the best writing software for you before you spend your money, and let me show you how you can use the software you already own to your best advantage.
Don’t miss regular news updates, reviews, how-to’s, and tips and tricks about the best software for writers like you.


")
