Scrivener’s cork board lets you work on several levels at once, for example for story outlining or other complex documents where you need to stay on top of things.
Let’s see how that works…
The disadvantage of Story Outlining with MetaData
A while ago I wrote an article how to use Scrivener’s MetaData feature for outlining, to keep track of complex stories.
If you want to have a look at that the link is down below in the description.
It is indeed a great method that I also use myself, but today I want to show you another possibility to deal with complex outlines with Scrivener’s Index Cards.
The disadvantage of using MetaData is that it’s a little cumbersome to move information from one file to another. You have to cut the text and paste it into the other document.
The advantage of Outlining with Index Cards
With index cards it’s a lot easier to move them around and also maintaining the overview is a little easier due to their color coding with labels.
Let me show you how to do that.
Alright, I’ve created a Scrivener File for demonstration with a 3-act structure, a couple of scenes one level below and some of the scenes contain a couple of beats.
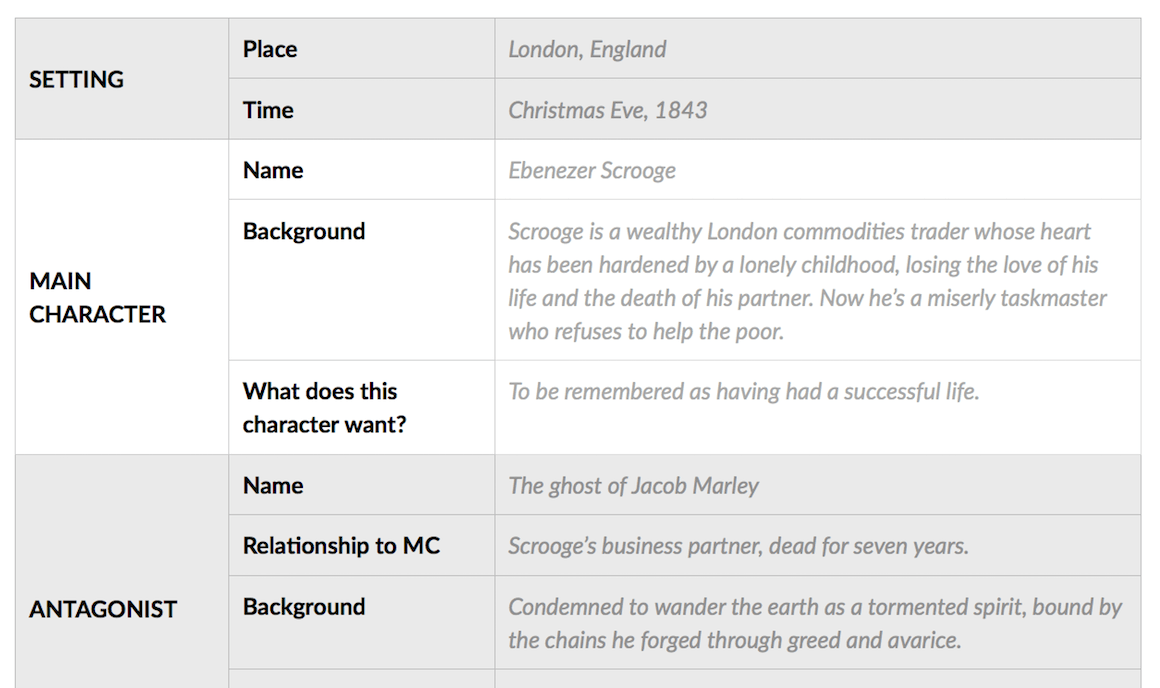
I created this from a screenwriter’s perspective but you can use the same principle for novel outlining or even blogging as well. For any type of work on multiple index card file hierarchy levels at once in fact.
If you prefer another story structure like the mini movie method, John Truby’s 22 steps, the beat sheet, whatever, use the one that’s most comfortable for you. For demonstration purposes I’ve chosen the 3-act structure here.
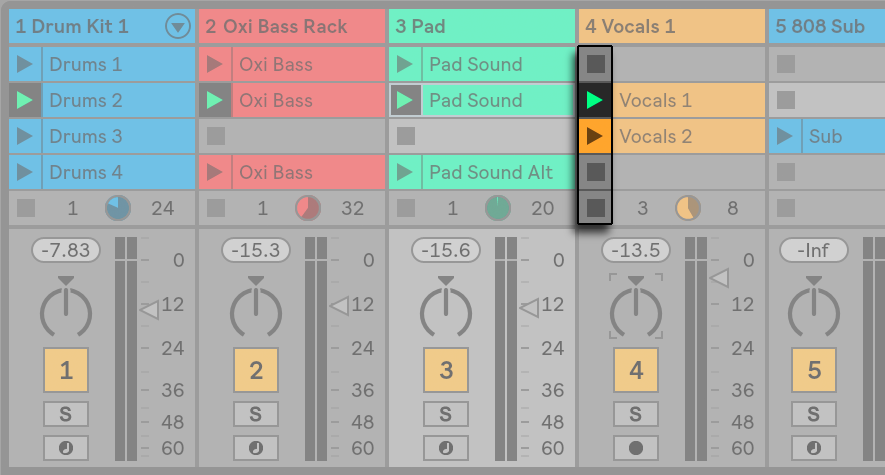
The blue files are my act-structure, the orange ones are my scenes and the green ones are my scene beats.
The beats are named after their function in the scene, in this case subtext, action and theme. But obviously you can use whatever you need for the way you work or your story.
Usually what you see in the Scrivener cork board are the files that are below the one you select in the binder.
So when I select my whole draft what I see is the 3-act structure that I just created, because that’s one hierarchy below.
When I select one of the acts I see the scenes that are in that act.
But, for the purpose of story outlining I may want to see scenes from several acts at once, so how do I do that?
Show Multiple Subdocuments at once
For this, select multiple acts while holding the Cmd-key. Be aware that this only works with documents that have sub-documents in the binder. If one of the documents doesn’t have any documents below it doesn’t work.
Scrivener now shows me all the scenes from all the acts I selected at once, divided into rows.
In the lower right corner you can choose if you want to see those rows horizontally with or without line break, or vertically.
That’s very convenient to see subdocuments from several different parent documents at once next to each other.
But, what’s missing now in my opinion is a visual reference to the parent document. I know that these scenes belong to the first act, those to the second act, and so on. But I’d still like to see the synopsis of those acts so I can get a better feel for the flow of the story.
Add a second Cork Board
For this let’s divide the cork board into two. If it doesn’t split horizontally click on the divider button while holding alt and it will split the other way round.
Now I can view my story structure in the upper cork board while having the corresponding scenes in the lower part.
Or, I can view the scenes of one of the acts in the upper part and have the lower part show me all the beats in that scenes by selecting them holding Cmd or Ctrl as we did before.
And here comes the main difference to story outlining with MetaData, if that is a detail that is important to you:
If you want to move one of the beats to another scene now, all you have to do is grab it and move it over. That’s it. No cutting and pasting. Done.

I believe that’s a very simple but powerful method for working with outlines, no matter how complex they become.
One caveat though: in the upper cork board here, in the “normal” view, so to speak, Scrivener will always break the line. That means you can only display as many cards as fit on your screen. If you want to see more you’d have to make them smaller.
What I would like is to have just one row here on top that continues to the right, so that I can move the upper part of the cork board and the lower part of the cork board at the same time to keep that visual link between the parent and the child hierarchy so to speak.
Right now you choose the corresponding child documents depending on what you choose to see in the parent hierarchy up top.
Maybe we’ll get something like that in one of the future updates. We’ll see.
Meanwhile, I’m interested in if that outlining method works for you, if it helps you or how you are going about the outlining process in Scrivener or in any other software. Drop me a comment below, I’m sure other writers are interested and can learn something from the way you work.
If you’re here for the first time subscribe to my channel, I’ll give you regular tips and advice on software for writers of all kind, so that your software doesn’t get in the way of your creativity but rather helps you create great ideas and achieve your dreams.
Have fun writing everybody. Bye.


Thank you for putting a lot of effort into this, Bela. To create such a clear and lively presentation is time-consuming, but your videos are consistently first-rate.